After you've connected your Sifter profile to GitHub, navigate to the project in Sifter that you’d like to connect to a GitHub repository to get the info you’ll need to make the connection.
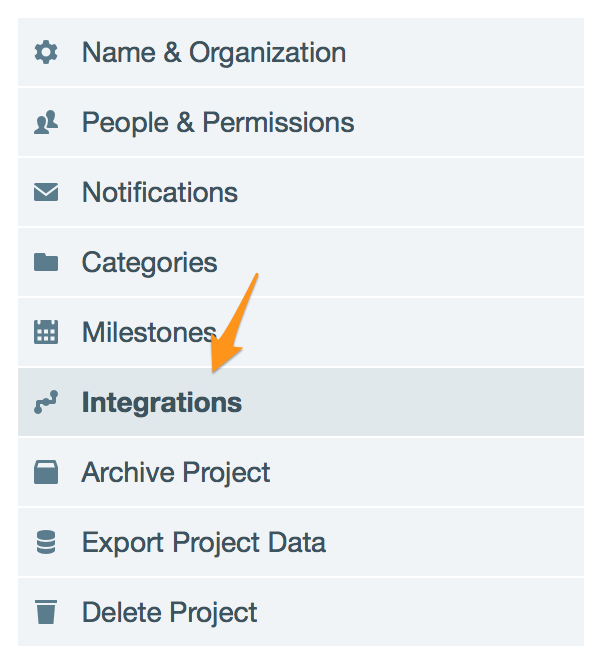
Click the Settings icon next to the project name.

Click “Integrations” in the right sidebar menu.
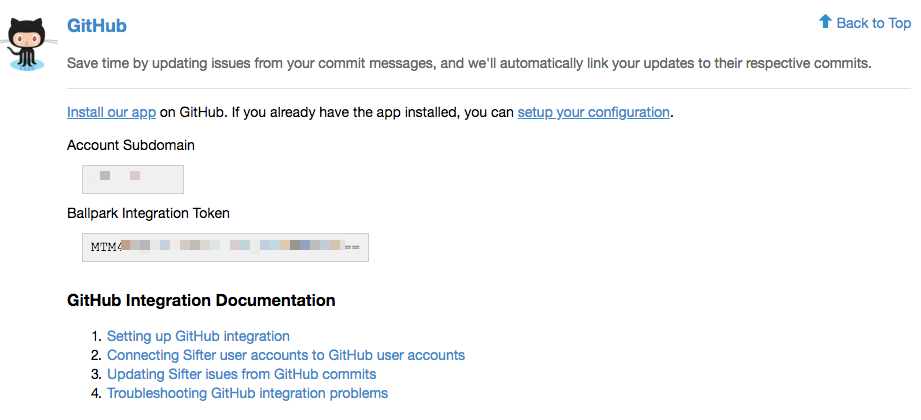
Copy your Account Subdomain and Project Integration Token, you’ll need them later.
Next, log into your GitHub account and go to our page on the GitHub Marketplace. Click the “Install” button.
You'll see a form that looks like this. Check that the repos you want to connect are selected, then click the Install button (again).

Next you'll be taken back to Sifter to finish the connection.
You need to use the full GitHub repo name. That means that just putting repo name won't work; you need to include the organization name, too (for example, instead of repo-name you'd use organization/repo-name).
Use the subdomain and token from your project settings that we saved earlier to complete the form and click the Submit button.
For all other projects you want to connect, go to the settings for each project and click the "set up your configuration" link and enter the repo name, Sifter subdomain, and project token for each one.
NOTE: You'll need to do this part for each Sifter project you want to connect to the repos you authorized when you installed the app. We're currently working on a way to make this easier.

If you have any trouble, send us an email at support@sifterapp.com and we'll help you out.