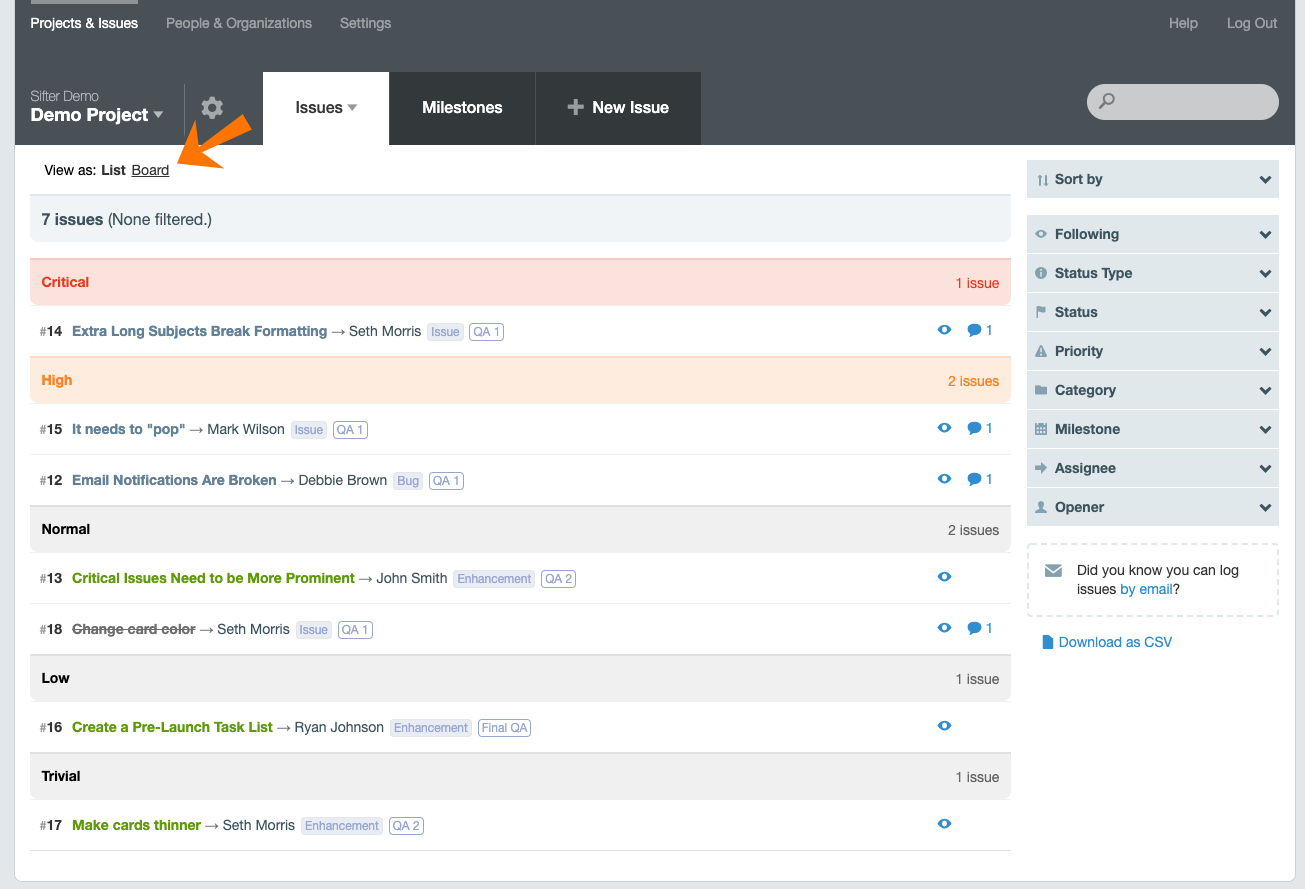
You can switch to Board View within a Sifter Project by opening a project and clicking “Board” towards the top of the page.
In the Board View, issues are in columns and divided by their current status. To the right of the column title is the total number of cards in a column.
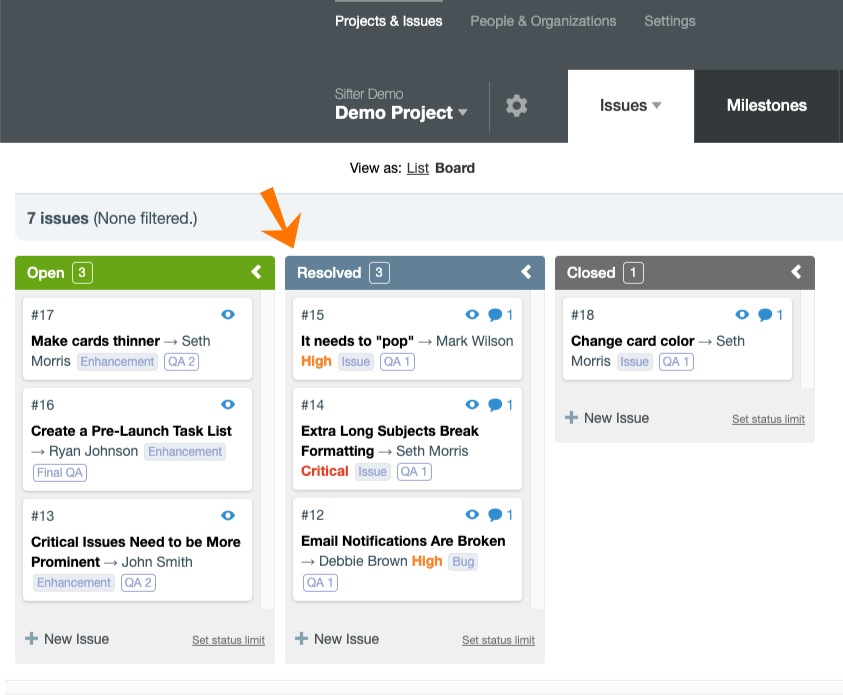
If you’re using Custom Statuses, the column titles will be the name of your Custom Statuses.
Issues in Board View show the following information:
Issue number
Follow toggle (the eye icon)
Number of comments
Subject line
Assignee
Category
Milestone
Cards can be dragged and dropped inside a column to be reordered, or dragged and dropped into another column to set a new status. You can also go to the New Issue page by clicking the “New Issue” button at the bottom of any column.
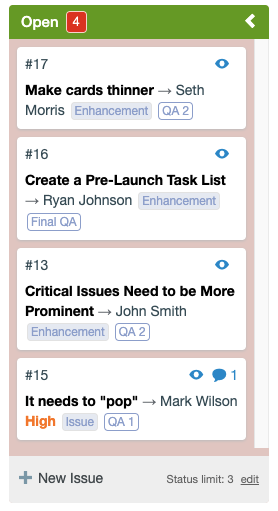
You’ll also be able to set status limits for each column, which determines how many cards can be in a column at one time. If you exceed the status limit, a red background will appear in the column until either the number of cards is below the status limit or the status limit is increased.
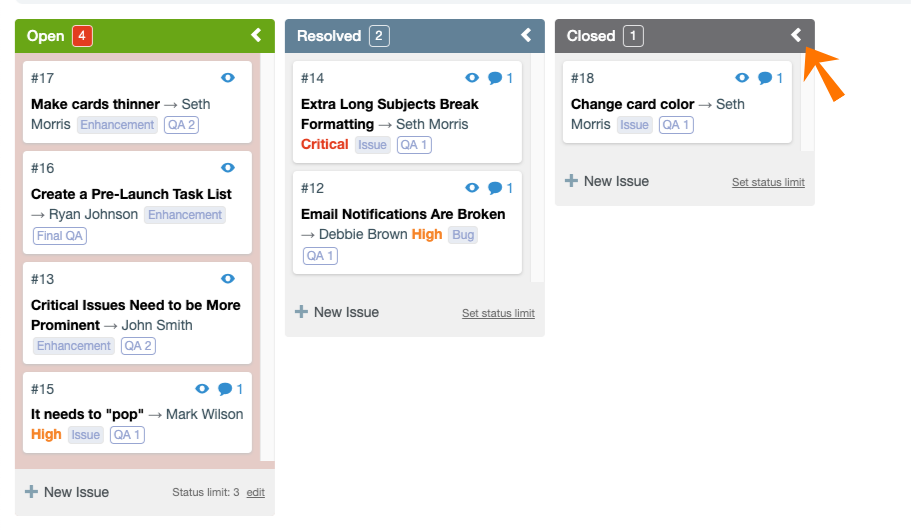
Columns can be collapsed in order to free up space in this View. You can do this by clicking the arrow at the top right corner of any column.
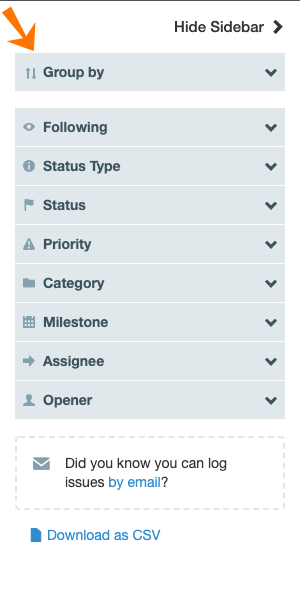
The Sidebar allows you to Group issues in different ways and apply filters. Grouping issues won’t rearrange the order of them like sorting issues would in the List View. Sifter will also remember your preferred View for each project.
To see a step-by-step walkthrough of the Board View, watch this quick tutorial video.